
Additional information can be added upon each adoption sharing impacts, risks, tips etc.
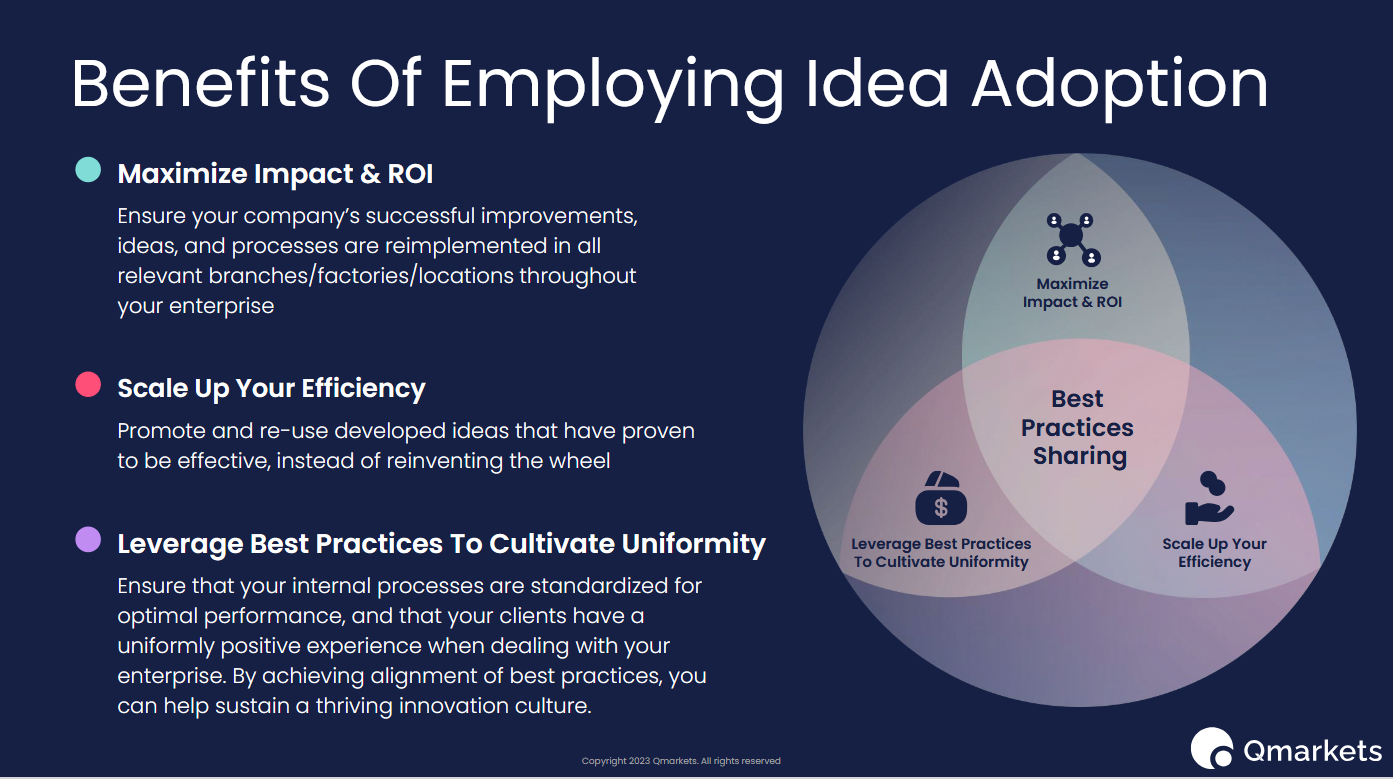
Please note that like any feature, the Adoption feature can be used across multiple subsystems. It is mentioned if the relevant system is on the system level or on the subsystem level.
Configuration on the Feature Level
The following settings are configured at the feature level and determine how the Adoption feature operates.
1. Submitting an Adoption request
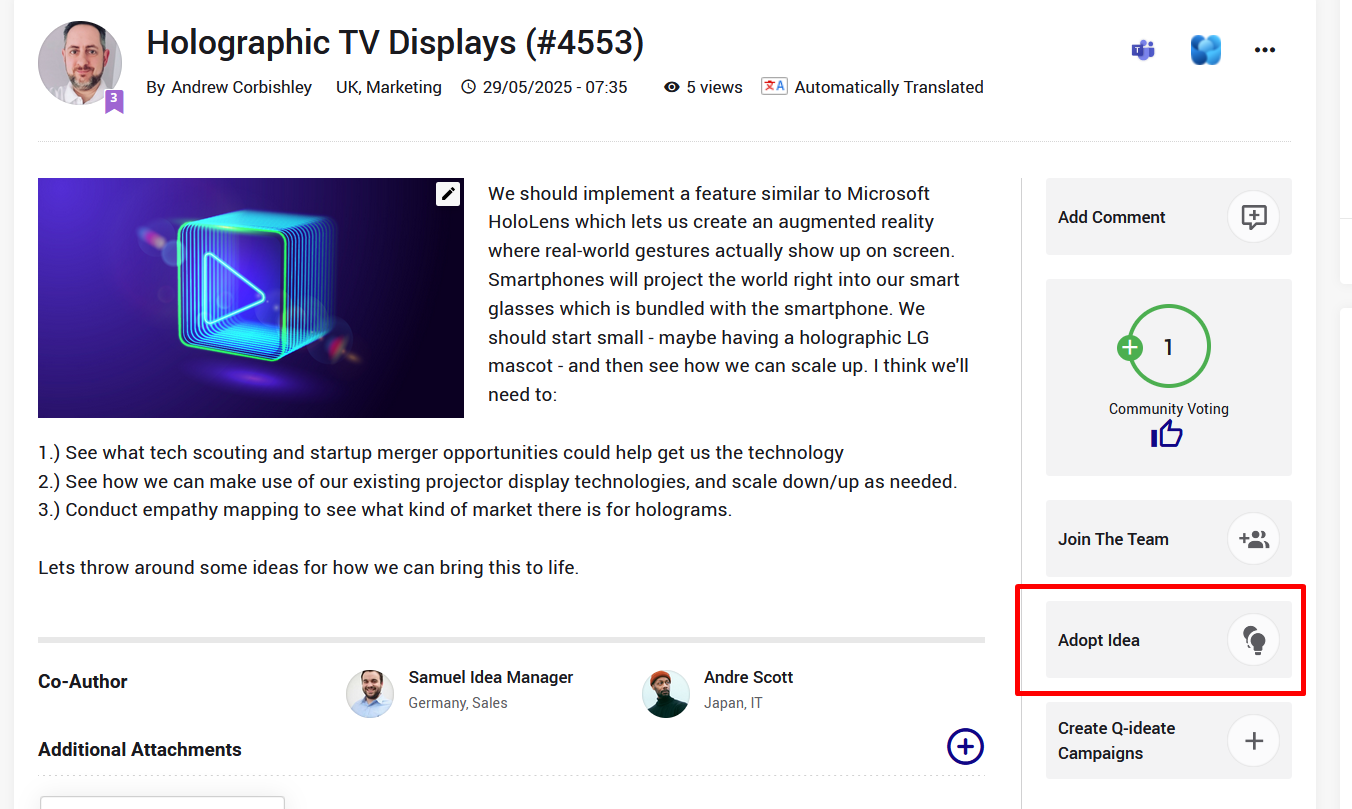
To request to join a team, the user clicks the "Adopt" button on the idea page.
The name of the button can be easily changed from the features settings section (Navigate to Settings > Features > Adoption--> General).
2. How to Configure the Adoption Submission Form
Once the user clicks the Adopt button, a form will appear, prompting the user to provide details about their request.
You can customize the questions included in this form. Examples of common fields are explaining teh motivation and what will be the saving type + how much it will be.
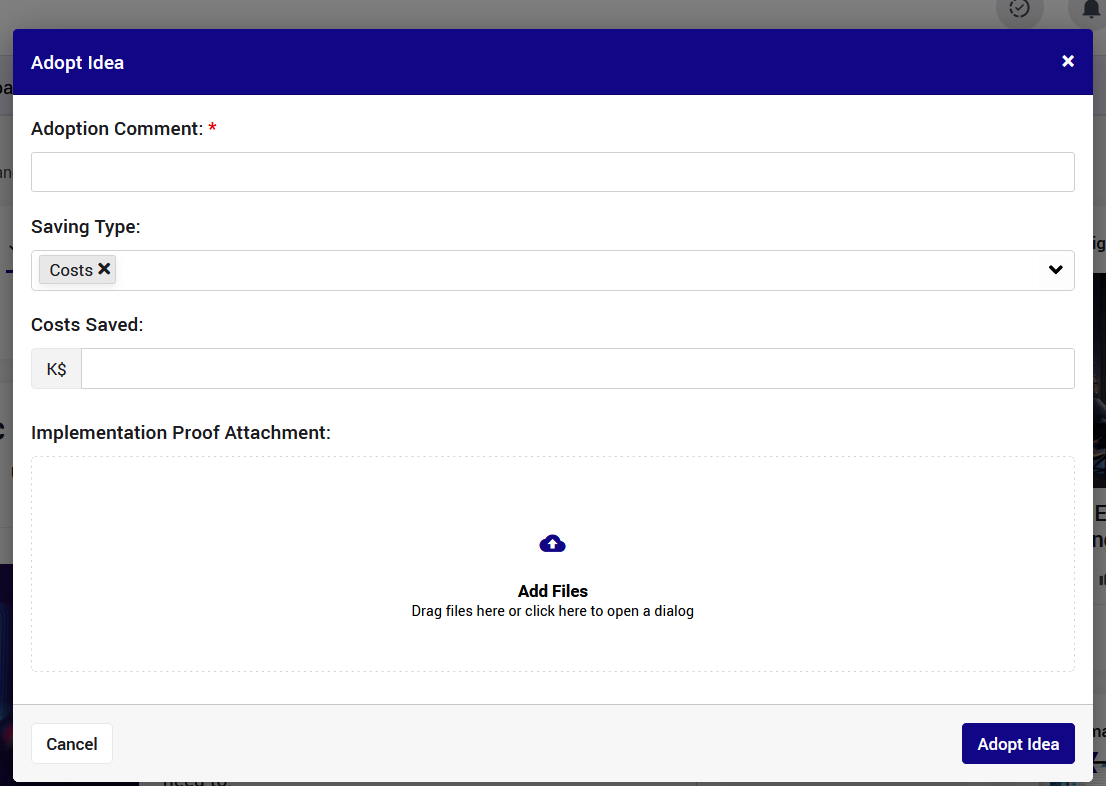
To customize the fields users need to complete when submitting a request:
- Navigate to Settings > Features >Adoption > Submission Form.
- Click "Add a New Field" to create additional questions for applicants.Multiple field types are supported:
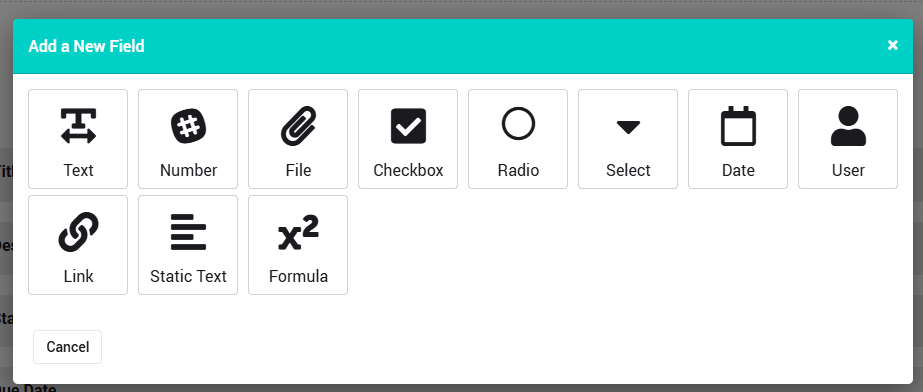 To learn more about the uniqueness of each field, please watch this tutorial.
This allows teams to collect relevant information based on their unique requirements.
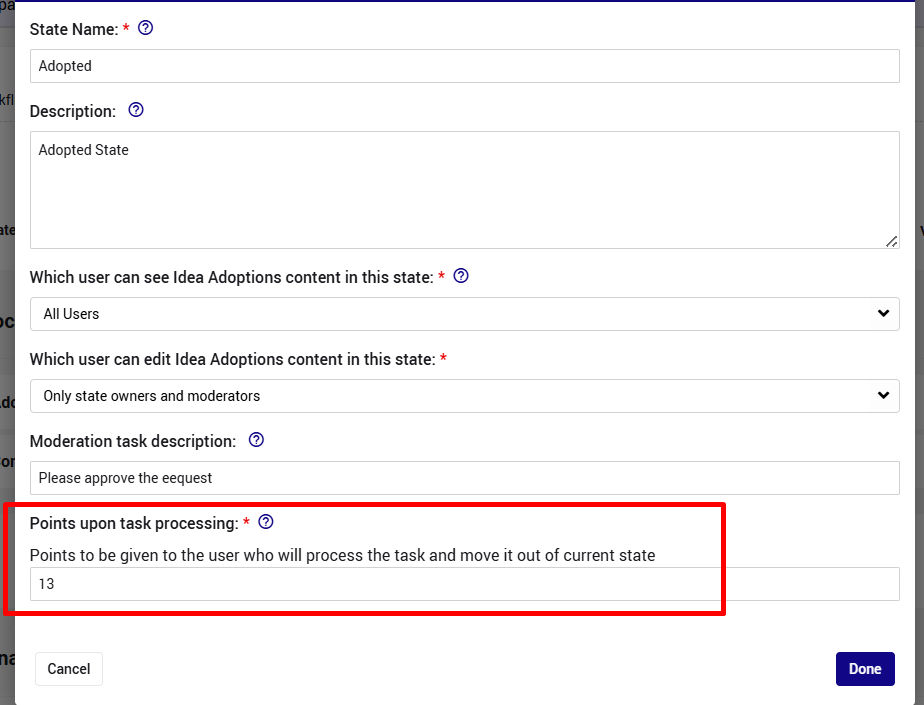
3. Assigning Points to Users Who Process Adoption Requests
This setting will acknowledge stakeholder to participate in the process and either approve/reject the request.
To define these points.
- Navigate to Settings > Features > Adoption > Workflow.
- In the relevant state, click the Edit icon, and define the relevant number of points
4. Handling Adoption Requests / Adding More States to the Adoption Requests Workflow
Once a user submits a join request, the owner will receive a new task to review the request:
The workflow can be adjusted to fit your process, for example adding another approval gate.
To modify the workflow:
- Navigate to Settings > Features > Adoption > Workflow.
- To add a new state, click "Add a State" and place it in the relevant position within the workflow.
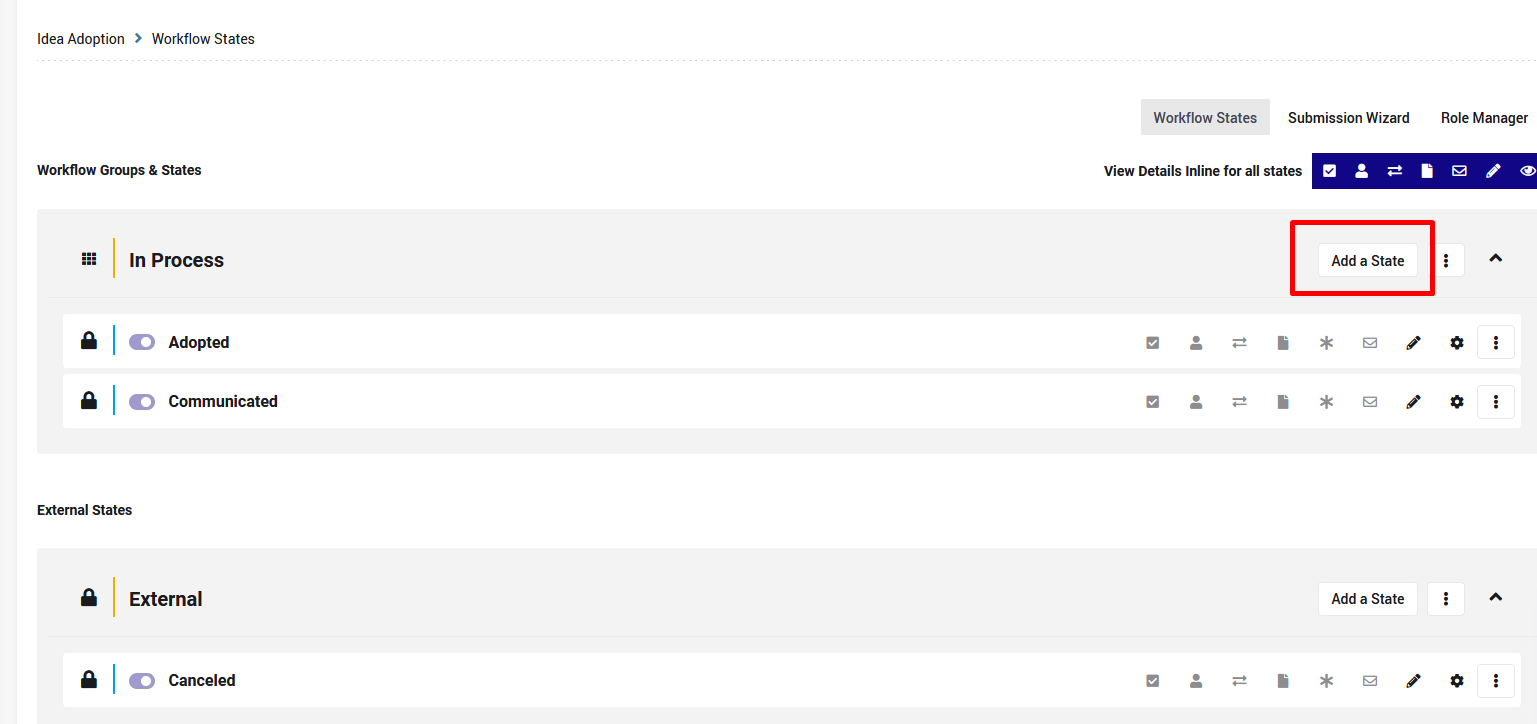
3. Complete the relevant settings, including who is the state owner, what are the allowed transitions etc.
To learn more about the setting options of each state, please watch this tutorial.
Configuration on the Subsystem Level
The following settings can be configured at the subsystem level, allowing each subsystem to tailor the Adoption process to its specific requirements.
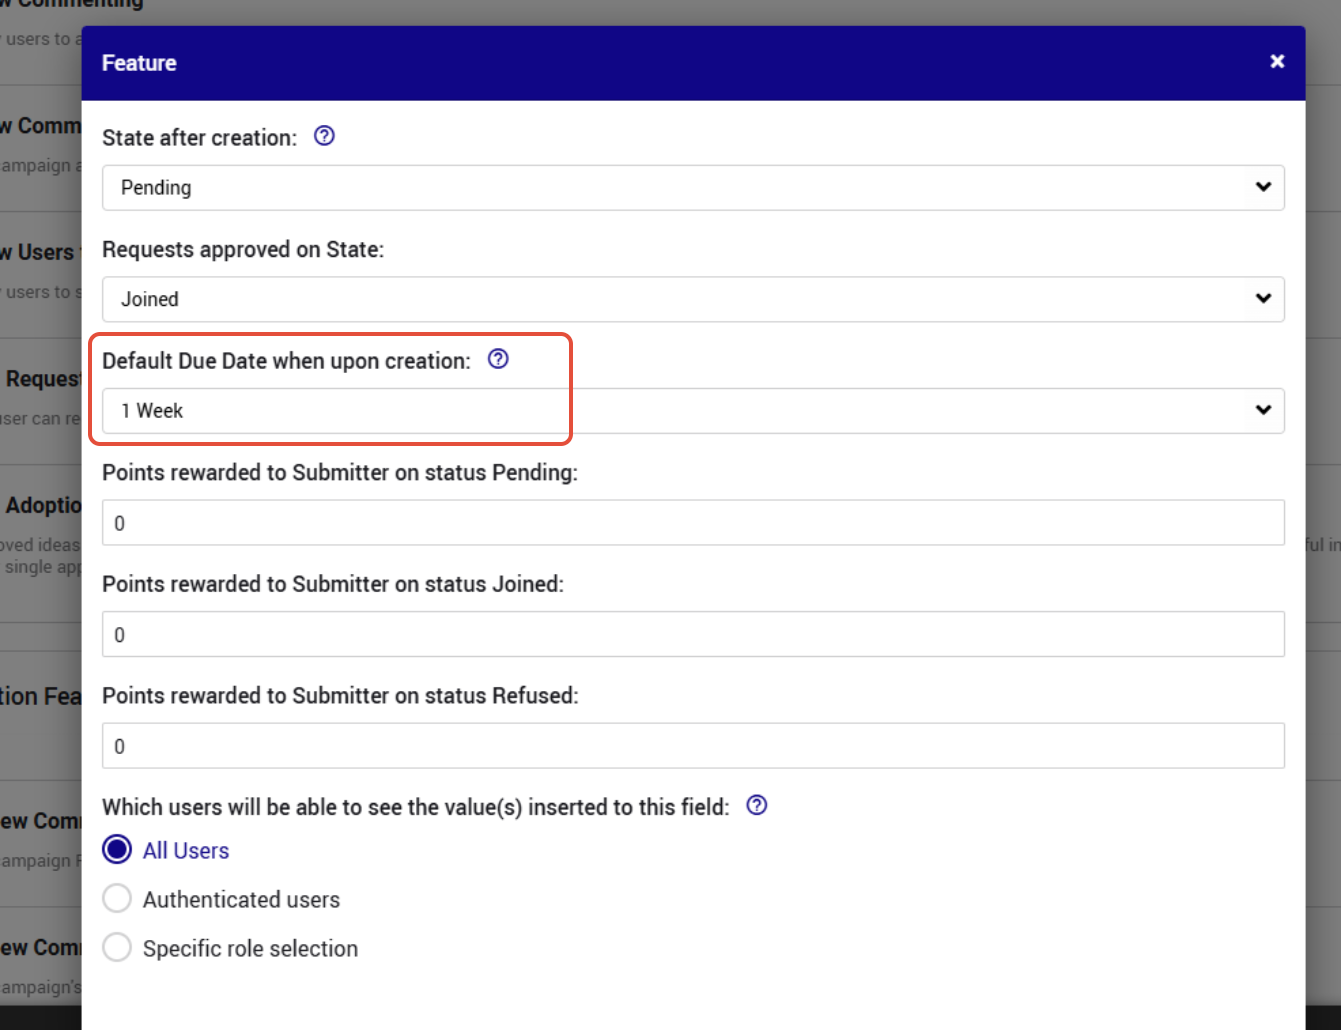
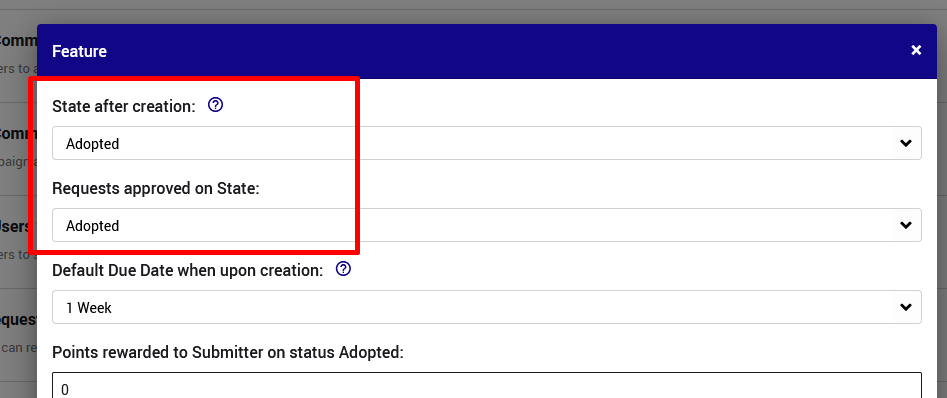
5. Modifying the Default Due Date
The system automatically assigns a default due date of one week from the request submission date.
To change this setting:
- Navigate to Subsystem Settings > Workflow > Features > Adoption
- Adjust the default due date as needed.
6. Who needs to approve the adoption request
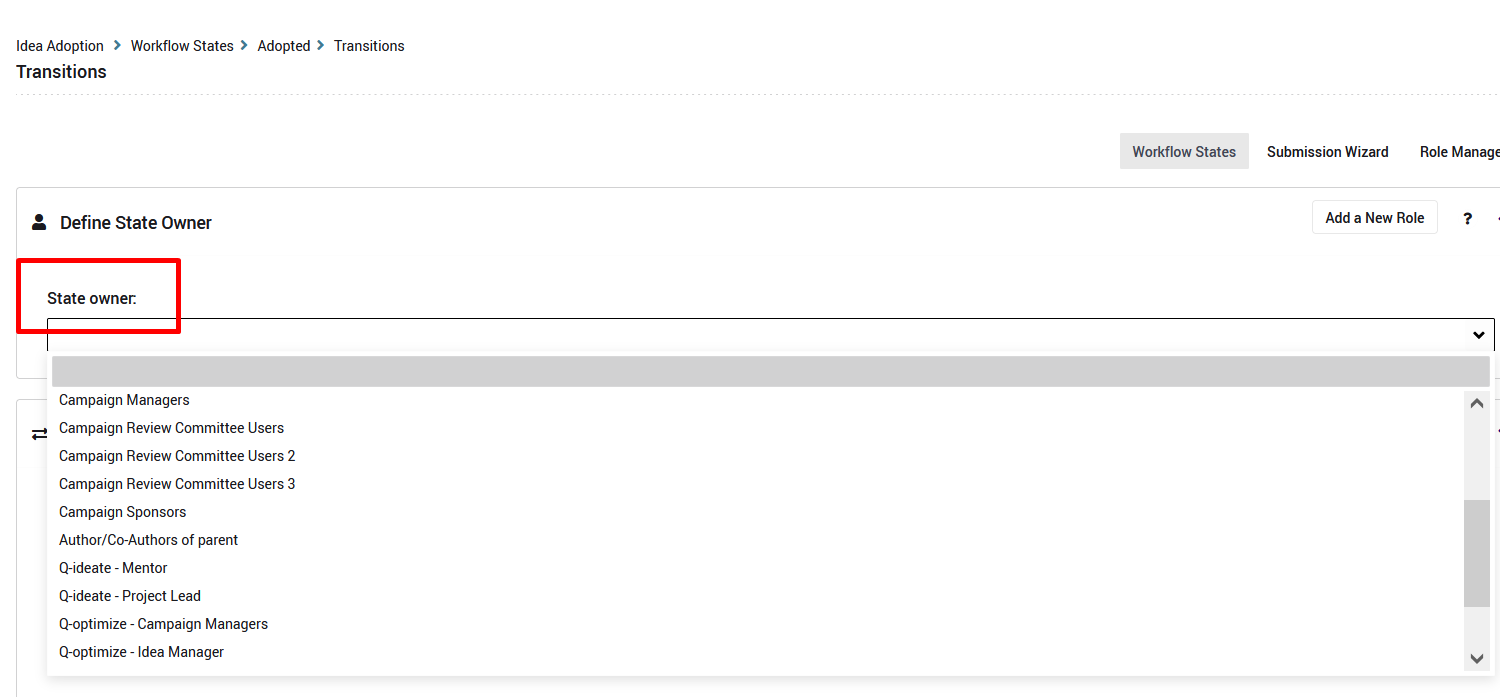
If needed a new role can be defined on the feature level (via Setting-->Workflow --> Roles).
This role is most likely to be assigned based on the user that submitted the approval request (via Setting-->Auto Assignment).
7. Setting Up Notifications and Reminders
Ensuring adoption requests progress smoothly is essential. The Adoption feature allows you to configure notifications for:
- Owners, alerting them when action is required.
- Stakeholders, keeping them informed about request status updates.
- Escalations, if there are delays in processing requests.
Notifications can be triggered based on:
- State changes (e.g., when a request moves from "Pending" to "Approved").
- Task owner updates (e.g., when a new owner is assigned).
- Reminders, sent:
- X days without a response, or
- Before/after X days from the due date.
To configure notifications:
- Navigate to the Workflow section of the feature.
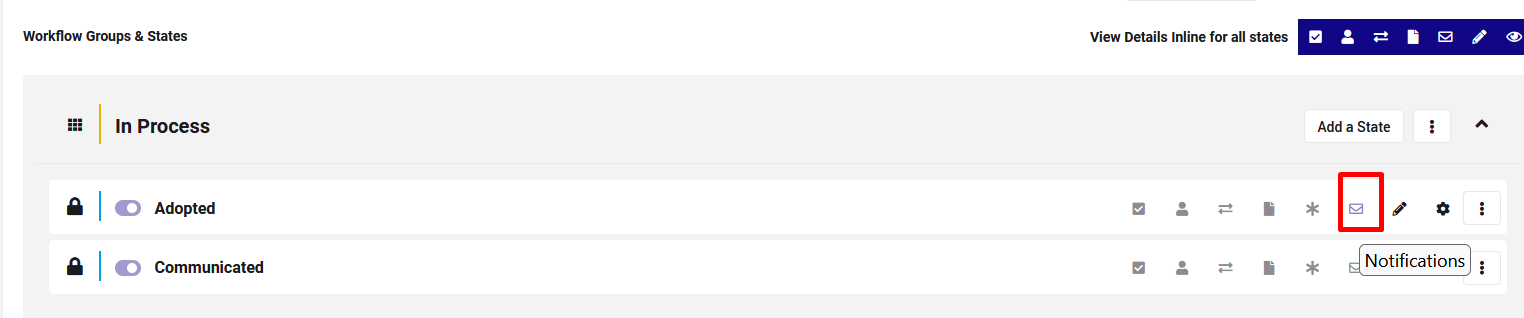
- Click the Mail icon next to the relevant state (e.g., "Adopted").
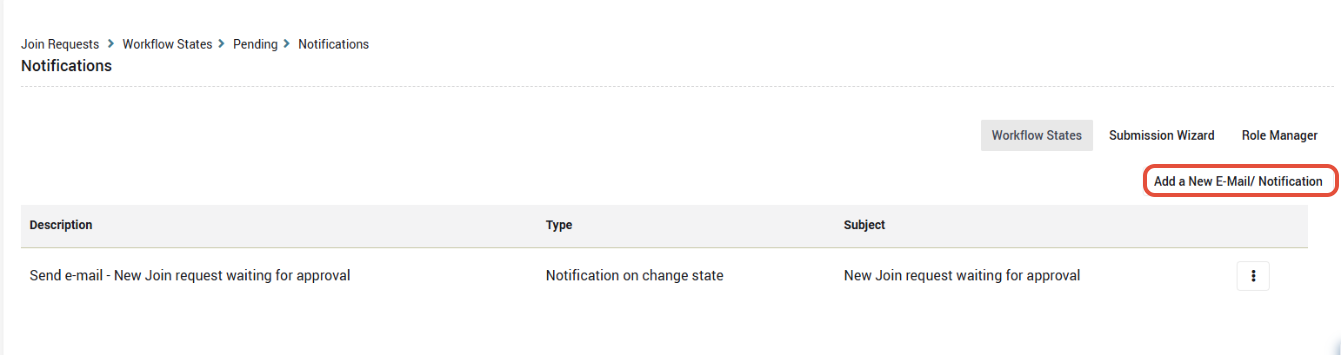
- Select "Add a New Email/Notification" and customize the email settings, including recipients (cc/bcc).
This ensures that relevant stakeholders remain informed and engaged throughout the process.
To learn more about How to configure workflow email notifications/reminders, watch this tutorial.
8. Customizing the Display of Adoption Requests
All join requests are listed under the Adoption tab.
Here, users can view key details such as:
- Title
- Requester
- Department
- Saving Type
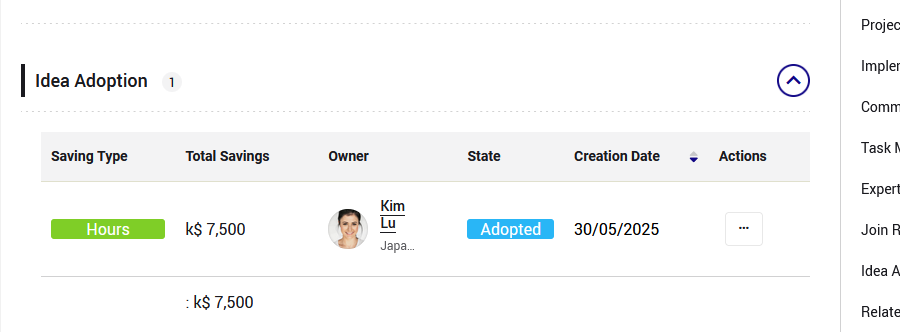
To customize the display (e.g., adding more columns), please contact your CSM.
9. Assigning points to users that were involved in the process and/or submitted the original idea
Due to the nature of this process and its dependency on motivation and engagement it's important to acknowledge the different stake holders that are involve: the submitter of the original idea, the users that requested to adopt the idea, and the decision makers along the process.
None of the point settings are activated by default but can be easily configured by the subsystem.
9.1 Points to the user who requested to adopt an idea
This setting will encourage users to request to adopt ideas.
If needed, go to the subsystem setting > workflow > features > Adoption and define the relevant number of points users will receive when their request is approved, adopted, communicated etc, according to the workflow you defined
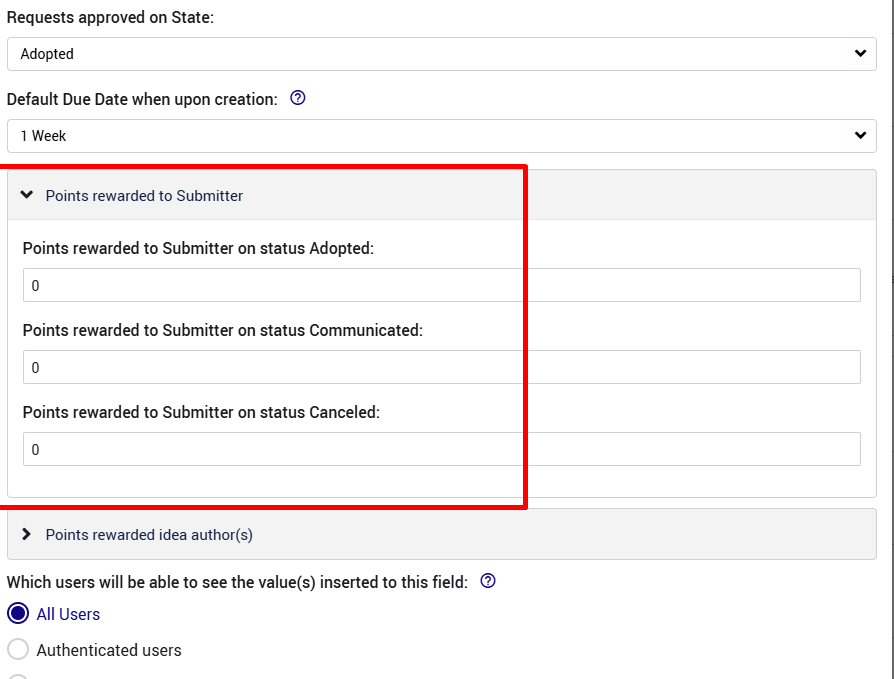
9.2 Points to parent idea submitter
This setting will acknowledge users for submitting a successful idea that will impact other units and/or business users that are going to adopt it.
If needed, go to the subsystem setting > workflow > features > Adoption and define the relevant number of points users will receive for every request that is approved, adopted, communicated etc, according to the workflow you defined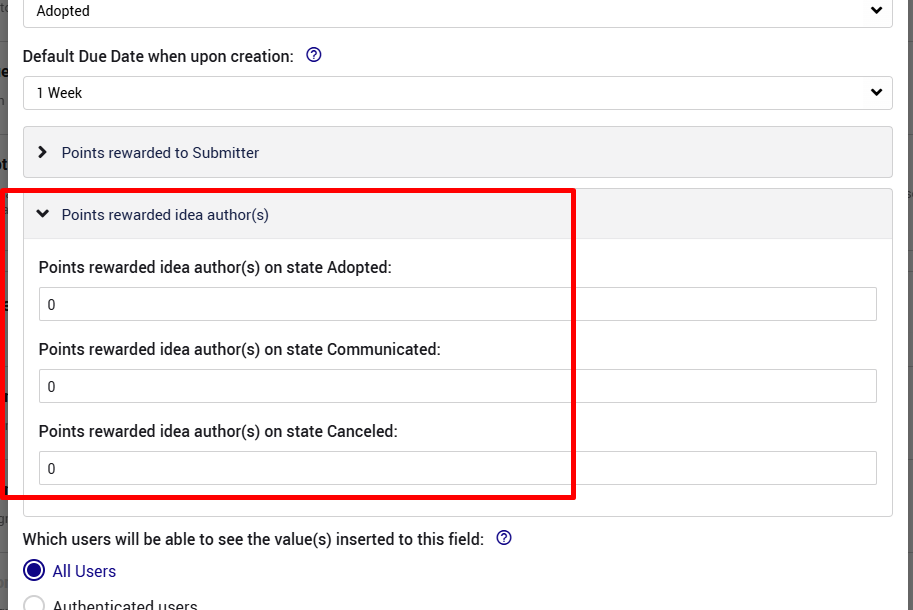
Feature KPIs & Reports
Like any other activity in the system, it is crucial to create reports that measure the usage of the feature, the performance of the involved stakeholders, the value and ROI from using the feature and more.
Refer to this link to understand how.